INTRODUCTION
Installing a new pendant fixture into an existing junction box is fairly easy. They're available in a wide variety of styles and colors making them an afforable update.
Pro Tip
Before beginning any type of electrical project, be sure the power is turned off at the home's main circuit box. Cover the switch with tape to make sure it doesn't get turned back on while you are working. Use a circuit tester to ensure that the power is off before you touch any of the electrical wiring.
STEP 1
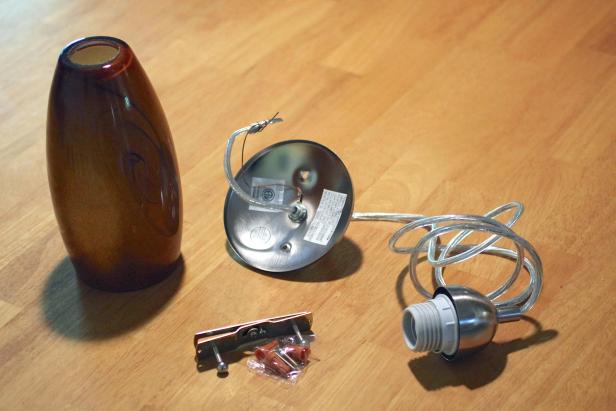
Select a Fixture
A pendant light often hangs by its own electrical cord, making the fixture itself fairly basic, distinguished mostly by color and size. The style of simple light lies in the shade, which can be chosen to match any decor, space or use. A flared shape or transparent shade will throw more light into a room, whereas an opaque or solid shade may focus light on a task surface.
STEP 2
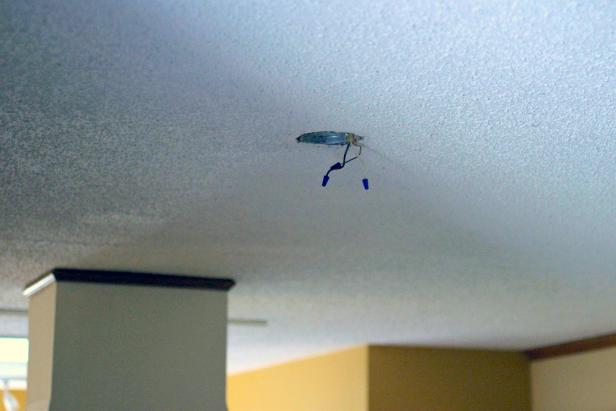
Prepare Junction Box
Locate your electrical panel and turn off power to the junction box and confirm no power is flowing. A previously mounted light should be removed with care to avoid damage to wiring. Three wires should be visible; two for power and a third wire is used as an electrical ground. Remove any previously used mounting bracket.
STEP 3
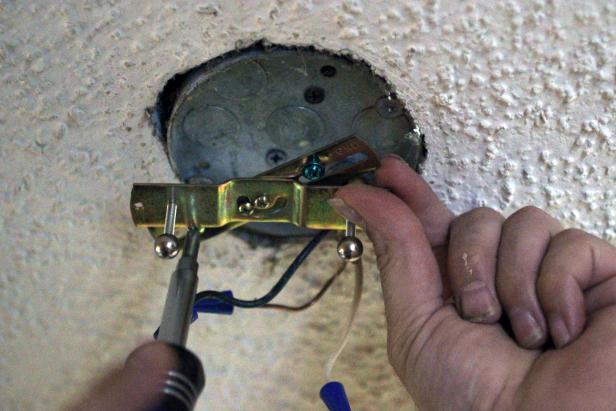
Attach Mounting Bracket
Take this opportunity to make certain the junction box is sturdy and properly attached without defect. Use a screwdriver to attach the mounting bracket that came with your new pendant light to the box using provided screws. Make sure this bracket is snugly attached and rests level.
STEP 4
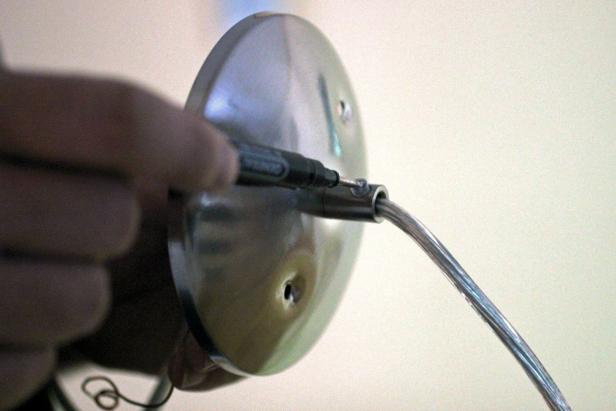
Adjust Hanging Height
Before hanging your new light, adjust the height at which it will hang by releasing the set screw and pulling the cord through the cover to the desired length. The excess cord may be cut using wire cutters or left a little long, with the excess hidden behind the cover when mounted. The height at which it will hand is a matter or preference, but consider the throw of light and potential head-bumping when determining the length of the cord.
STEP 5
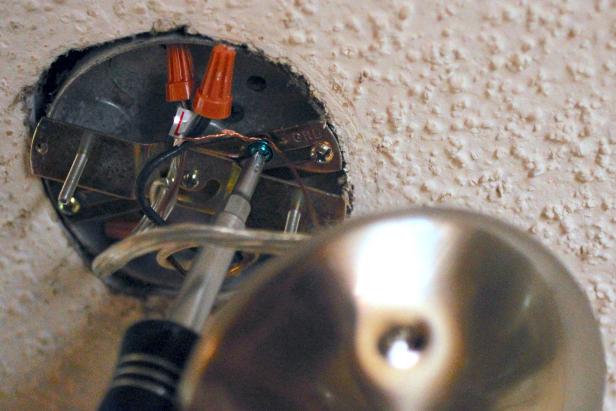
Attach Wires
Attach the grounding wire to the mounting bracket at the marked screw and marry power wires by color or as recommended my manufacturer. Twist the bare ends of the wires together and then cap using wire nuts to cover and secure ends.
STEP 6
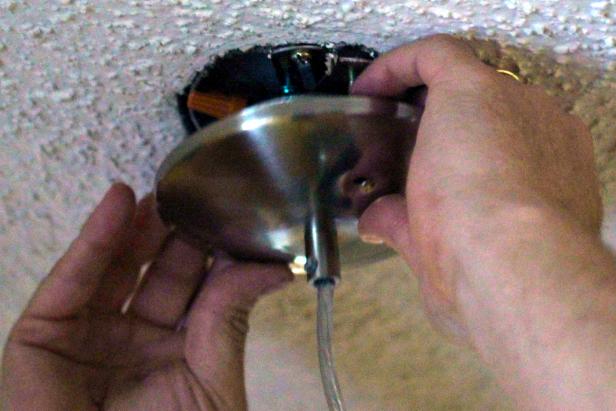
Affix Cover
Once wiring is complete, cap the junction box with the cover, using mounting bracket posts and screw caps. Tighten until cover rests firmly against the ceiling, making sure no wires are pinched or exposed.
STEP 7
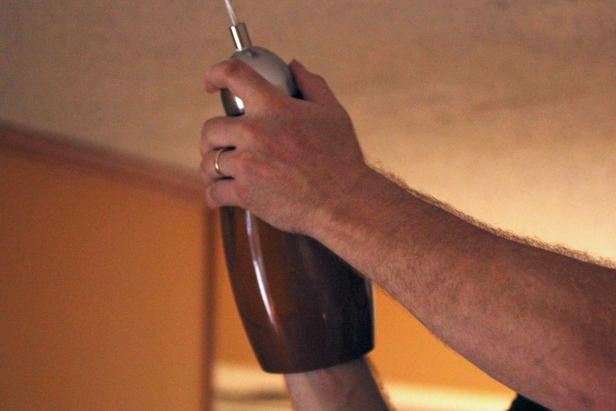
Attach Shade
Unthread the nut on the shade mount over the bulb socket, slide the shade over the threads and replace nut to secure. Make sure pendant light shade hangs level when released. Straighten the cord by which the light hangs by hand, if necessary, but expect the cord to straighten more thoroughly over time under the continuing weight of the fixture.
STEP 8
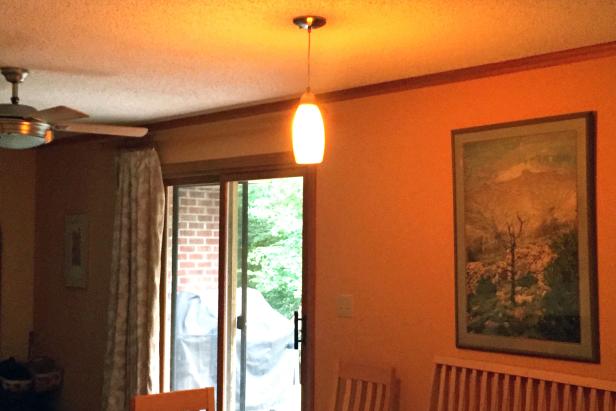
Selecting a Bulb
Consult the manufacturer’s instructions when selecting a bulb for your fixture. Wattage, shape and “light appearance” can all have a significant impact of the look and functionality of your ceiling fixture. If using a dimmer switch, make sure the bulb is dimmable and look for warmer colors for living spaces. Although a single pendant light isn’t usually the best choice for large spaces.


Хотите научиться работать в сети?
Хотим представить вам информационный портал: https://zarabotat-doma.ru/zarabotok/s-vlozheniyami/trejding-dlya-novichkov-s-chego-nachat-rabotu-trejdera/
На сайте вы сможете изучить все известные способы заработка в интернете, и начать быстро зарабатывать.
Топовые стратегии и кейсы от профессиональных брокеров и арбитражников.
Спешите, пока еще бесплатно;)